Wednesday, March 5, 2014

Master Bathroom Transformation

As I have shared with you in previous posts about my house...it is old! So today I want to share with you our Master Bathroom transformation.  You won't believe your eyes when you see this, well you might since you have seen (the transformation of) my kitchen and living room. 
I won't keep you in suspense any longer...
 Is that hideous or what?  We basically took everything out except the bathtub (it was in pretty good shape). The vanity was very low...I am not very tall and I had to bend down to brush my teeth, so it had to go!  We took the tile off of the wall for the shower and my husband and his dad put new tile in the shower and laid it on the floor as well.

The below photos are the finished product!  
 We chose to put bead board on the walls, because when we took out the vanity...well let's just say the drywall came with it.  We didn't have the skills to put new drywall up, so we came up with that solution. I really do like the way it turned out.  I painted it a cream color and then put a glaze on it. We also decided to go with single vanities so we would have our own space!  I am a bit of a slob when it comes to getting ready in the morning. Sometimes I even use Craig's side! 
 The ceiling had a soffit with fluorescent lighting.  When we (I should say when my husband) took it down, it left a MARK...so we covered that mark with a piece of barn wood (that I dry brushed with the cream paint).  Then we hung the lighting on it.  This is one piece that I absolutely love in my bathroom.
This last picture is a close up of the vanity.  I will slowly share with you the other parts of my house. Right now my spare bedrooms are torn apart, so I am trying to decide how I want to put them back together.  I have just shut the doors and forgotten about them for now.
I hope you enjoyed my bathroom tour!
Have a blessed day!
~Julie

Monday, March 3, 2014

DIY Heart Mug

I know it's been a few weeks since Valentine's Day, but I didn't get a chance to post this beforehand, so I am sharing this SUPER easy project with you today.  I wanted to get my daughter's teachers something easy but nice for Valentine's Day and these easy, inexpensive, mugs were a hit!


I am fully aware I do not have the best penmanship, but hearts I can do pretty well, so this seemed to be my project!


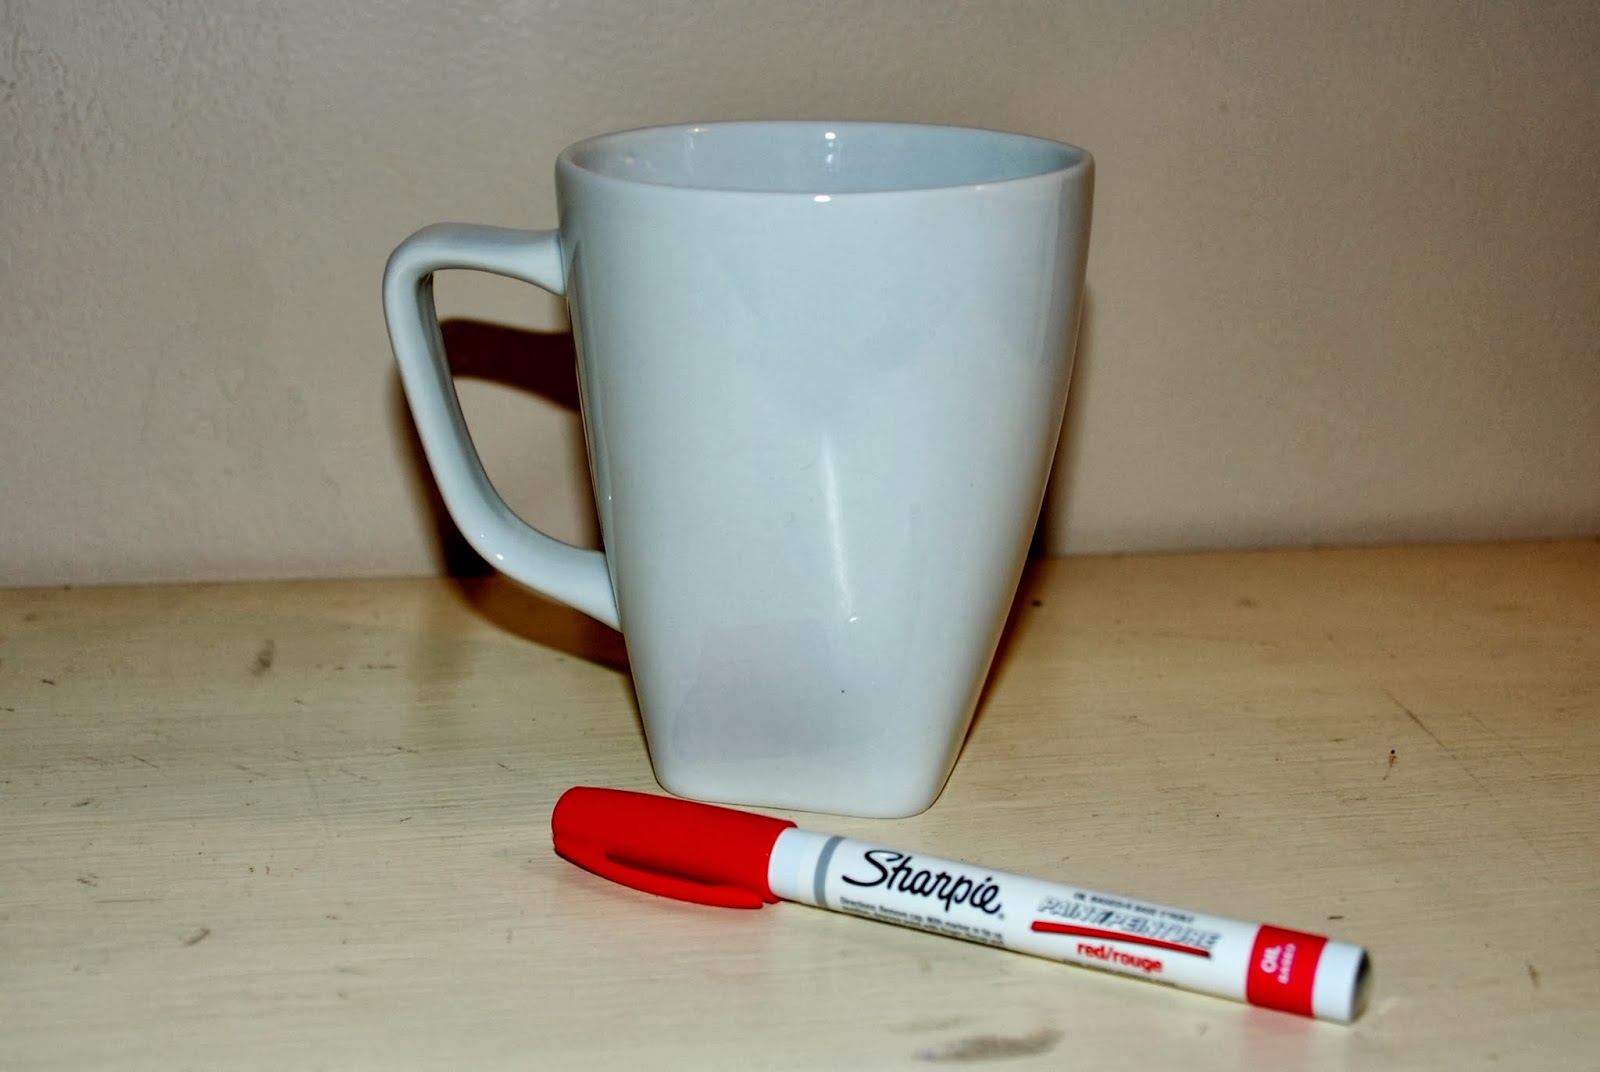
Here is what you will need...

- A Mug (any size or color). You can find these at Dollar Store!
- Oil-based Sharpie (I chose red since I was doing hearts). You can find these at Michael's.
- An oven. You can find this in your kitchen...hehe!


I took my Sharpie and began drawing hearts.  I wasn't sure if I was going to draw them all over the mug, so I started out with a few and ended up liking the cluster.
I also signed my daughter's name on the back (forgot to get a shot of that).


I then preheated the oven to 350 and stuck it in for 30 min.  I waited for it to completely cool before I removed it from the oven.  I didn't want to chance cracking the mug because it cooled too fast.


And you're done!

 As for the gift bag, I dressed it up a bit...couldn't help myself!

I placed Washi tape along the front and attached these cute tags I found at Michael's with gray baker's twine. SUPER easy!!!


You can make any design you want on your mugs or if you have good penmanship, you can write a message!

Happy Creating!

~ Kerri
Pin It button on image hover