While thumbing through Pinterest, I found this amazing Entertainment Console Table that would be perfect to go under our television & the best part was that it came with instructions, so I put my hubby to work!
This picture came from Saved By Love Creations website. She got the plans from Ana White's Website.
My husband modified the plans to shorten the length of the table by a little more than a foot. Here is how ours turned out...
After my husband built it (with some help from Julie's husband, Craig) using these plans for Ana White's Rustic X Console (sorry I didn't take pics) I distressed it with water & baking soda. This is a method that works great on redwood and cedar wood ~ we used redwood. Using these instructions from Ehow.com, I applied the mixture all over the console and left it to dry for 24 hours.
The picture below shows you the process and how different the wood looks after the application dries.
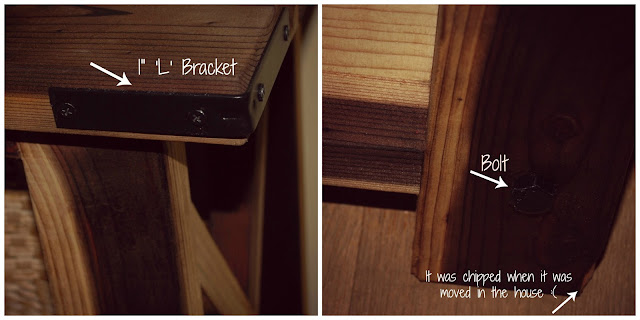
After the console was dry, we applied one layer of wood sealant, let that dry and then added the hardware. We added 3" 'L' brackets to the corners & bolts to the bottom, one on each leg. We weren't able to find black ones in the stores, so we purchased the silver ones and spray painted them using my favorite Rust-Oleum 2X Ultra Cover Black Flat.
The last step was to add the décor! Thanks to Home Goods and Ross, I found pieces to add to what I already had. What I love about this piece is that it is open and allows for the room to flow better.
A special thanks to my husband who is the most handy CPA I know!!! Love you babe!
~ Kerri


No comments:
Post a Comment